
Interiors // Framing Instax Polaroid Photos for a Travel Gallery Wall
April 29, 2019
We've had a plain wall on our upstairs landing ever since we moved in and I've always wanted to create some kind of gallery wall there but never got around to it. Until... this baby has got me into serious nesting mode and I suddenly want to finish all of the house jobs pronto! I'm sure you know by now what a huge love of travel we have, add in my biggest passion of taking photos and it seemed like a travel wall would be the best use of space. {although in the future when we have lots of baby/family photos I might swap it over!}. I wanted to use the photos/prints we already had but have never found a home for, rather than searching for new art. So bought a couple of trusty Ikea picture ledges {I'm obsessed with these for creating displays as you can swap things around as often as you like rather than committing to drilling a load of pictures in the wall and worrying about layouts} and it just makes the whole thing so quick and easy. I also had a Rifle Paper Co calendar which I'd bought in America a couple of years back with the intention to frame some of the city prints - buying a calendar works out a lot cheaper than individual prints so you just need to guillotine them to size. And finally, I have a stack of Instax prints from our travels from using this to print favourite snaps over the past couple of years which I really wanted to frame. I've shared the DIY process below, if you'd like to see...

First up, the Rifle prints. I bought this in America, it can be tricky to find UK stockists.


The prints come as calendar pages so we had to guillotine them to size. We worked out that we'd need a 10 x 12 inch frame {which we could only find in a couple of shops, Wilko, Asda and The Range had them - Ikea and the like didn't}. We went to the Range and were amazed by their frame selection, at seriously low prices.
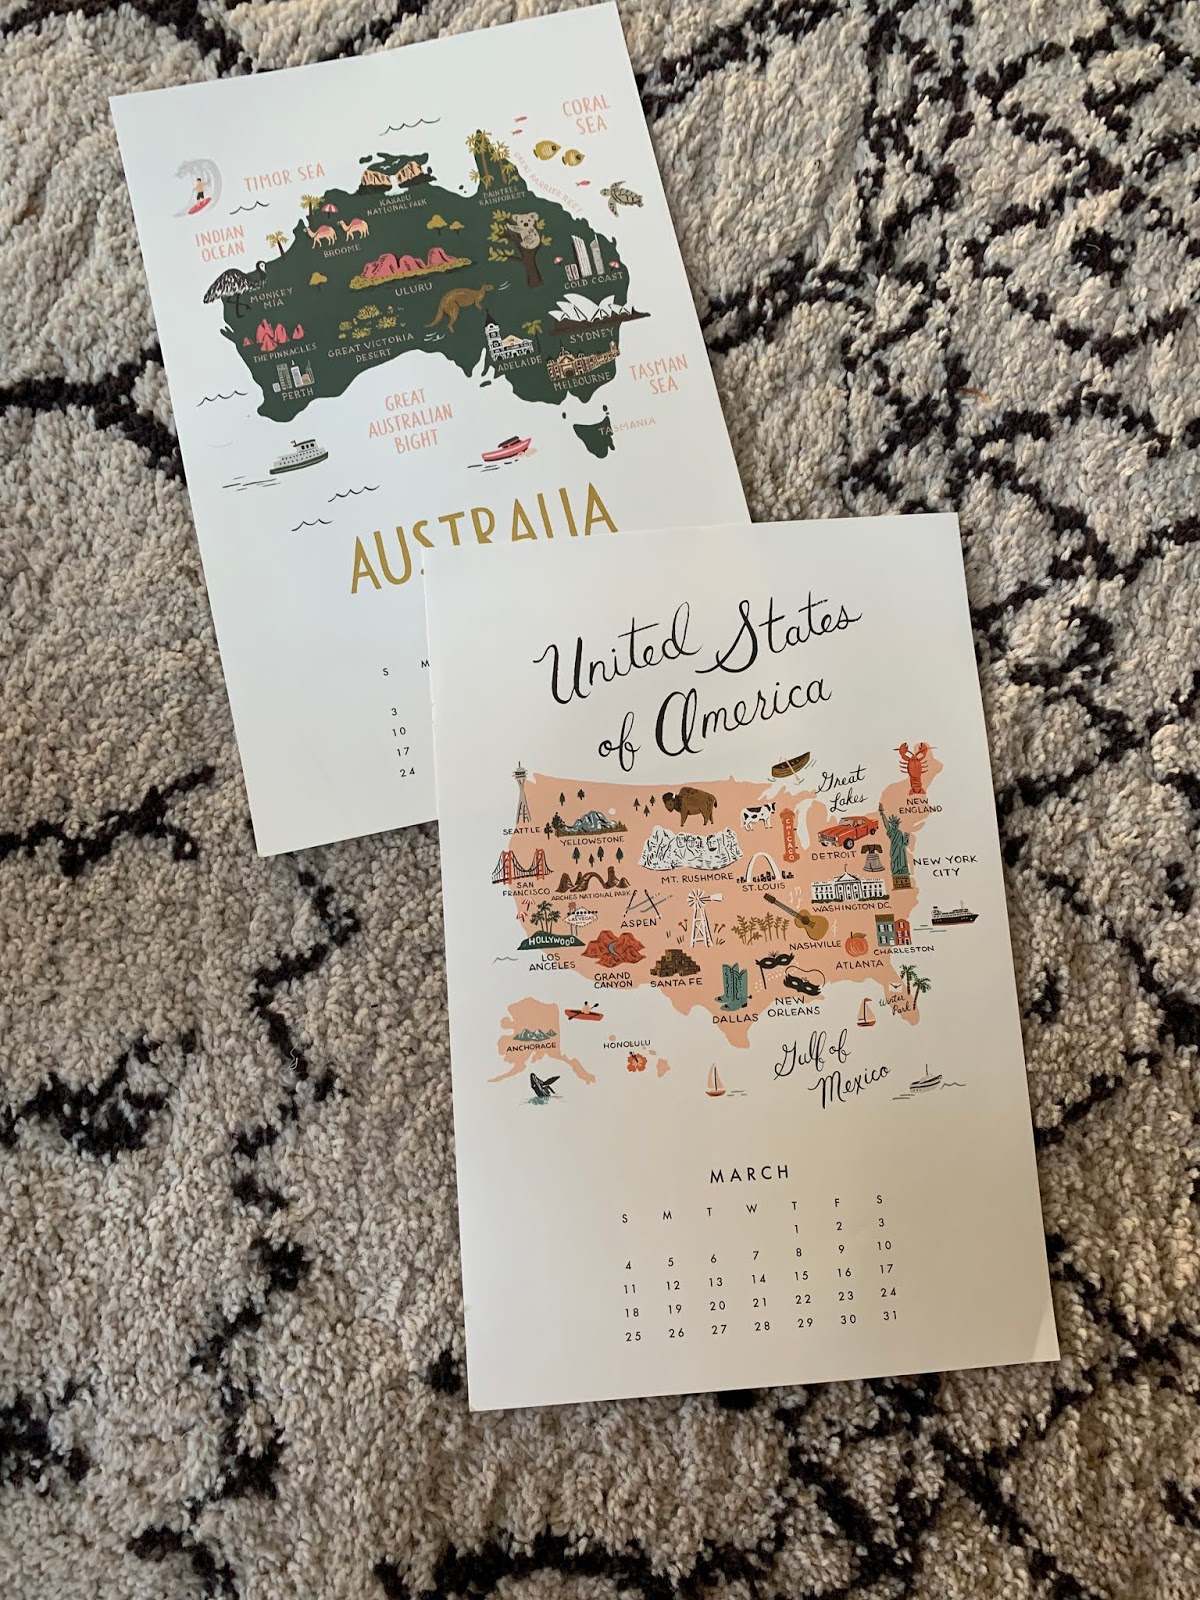
We have a Rifle paper co travel section in our snug room, so there were only a couple of the calendar prints we wanted to frame that were special to us/or that we didn't already have downstairs. Namely, Australia, the USA and Italy.

We held the paper that came with the frame over the print and cut it down to size.


For the instax polaroids, I searched for frames with instax cut out mounts {and annoyingly Urban Outfitters stocked them but only in America and the shipping was $30, plus the cost of the frames would have added up}. So decided that I could just make some myself.

When I was in the Range I bought some backing card to use as the base for sticking the instax on, and cut them to size to fit each frame. I bought a selection of frames in different sizes, some black and some white. Plus used a couple of frames I already had at home.


This was the wall in question, crying out for some interest!


Working out the positions of frames on the ledges.

It took me a few days to work out which I wanted to frame, and also I ran out of time and wanted to set aside some proper time to sit down and do it properly rather than rush it.


Memories from our trip to Puglia & the Amalfi Coast last year.

I bought some sticky foam squares to stick them with but then in the end decided on blu-tack so that I could change the pictures at a later date and not ruin them permanently. In some frames, I just had one picture or a couple, in bigger frames I put six or eight next to each other.
I was in two minds about whether to write under the polaroids or not, again not wanting to write on them permanently so left them plain in the end. But you could always add labels later on.


The finished gallery.


So many happy memories captured in these frames.

And I love how we can update them as and when, if we want to.


An inexpensive little project that's really transformed this landing and makes me smile every time I come upstairs now.
You can find the polaroid printer online here, extra film online here and various frames online here.
R <3 xx


1 comments
Hi Rebecca. I am planning a travel gallery wall in our bathroom and this has helped. Thank you! (Off to The Range tomorrow!!) A question if you don't mind....where is the radiator from beneath your pictures? We need a narrow radiator for our thin hallway and this looks perfect. The ones I have been looking at are too chunky. Thank you! X
ReplyDelete